Natural Finishes: Oil and Wax Care for Wooden Surfaces
Why choose oil and wax
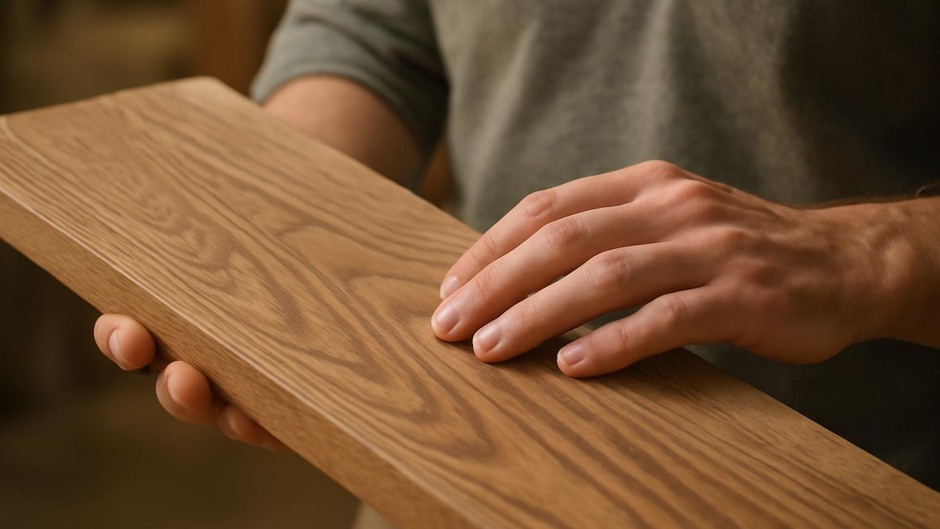
Oils and waxes offer a tactile, repairable surface that ages gracefully. They emphasize the material’s texture and color without forming a hard film. For furniture, tools, or small objects, these finishes are forgiving and simple to maintain when applied with care.
Selecting a finish
Choose an oil or wax based on use and desired look:
- Linseed or tung oil: deeper penetration and warmth, better for surfaces where a durable, slightly satin feel is desired.
- Blended finishing oils: often combine penetration with moderate surface protection and faster drying.
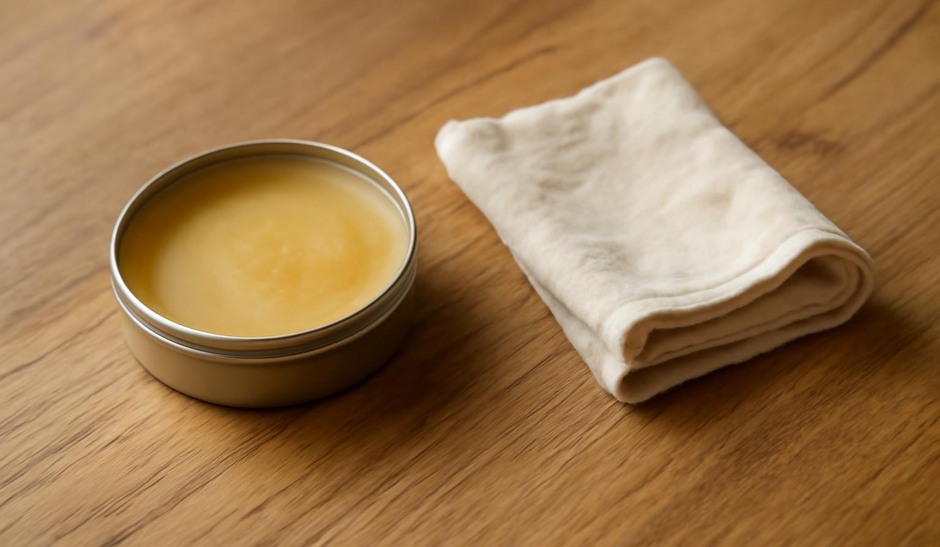
- Natural waxes (beeswax, carnauba blends): add sheen and water resistance; best applied over an oil or to refresh an existing oil finish.
Application step-by-step
Follow a calm, deliberate process for good results.
- Prepare the surface: sand progressively to the desired grit and remove all dust. Clean the surface with a tack cloth or light vacuuming.
- Apply first coat of oil with a lint-free cloth, working with the grain. Allow the oil to penetrate for the manufacturer’s recommended time, then wipe away excess—do not let puddles dry on the surface.
- Let the first coat cure until dry to the touch. Light sanding between coats with very fine grit (320–400) helps adhesion and evenness.
- Apply a second coat following the same steps. Two to three thin coats usually give stable, attractive results.
- If using wax, apply after the oil has cured fully—often days to weeks depending on the oil. Rub wax on sparingly, let it bloom, then buff to the desired sheen.
Maintenance cycle and simple repairs
Natural finishes are easy to refresh.
- Daily cleaning: dust with a dry cloth. For sticky residues, a damp cloth followed by immediate drying works well.
- Minor wear: a light coat of oil or a buff with soft wax refreshes the surface. Apply thin layers and spread evenly.
- Deeper damage: sand locally to remove the damaged area, then reapply oil and wax in thin coats, blending into the surrounding finish.
Short exercises to understand behavior
Observe how finishes change over time with these experiments.
- Finish three small offcuts of the same species with different oils or oil+wax combinations. Photograph and note the color change at intervals: immediately, one week, and one month.
- Leave a small, oiled sample in a humid corner and another in a dry spot to see how curing and color shift vary with environment.
Storage, safety, and care reminders
Rags with oil can self-heat and pose a fire risk. Lay them flat to dry outdoors or store them in a metal container filled with water and sealed before disposal. Keep finishes in a cool, stable place and follow product safety guidance for ventilation and handling.
Final thought
Oil and wax finishes invite periodic gentle attention rather than major overhauls. With modest application and routine refreshes, wood surfaces remain alive to touch and use. The pleasure comes from small acts of care and the gradual patina that tells of things used well.